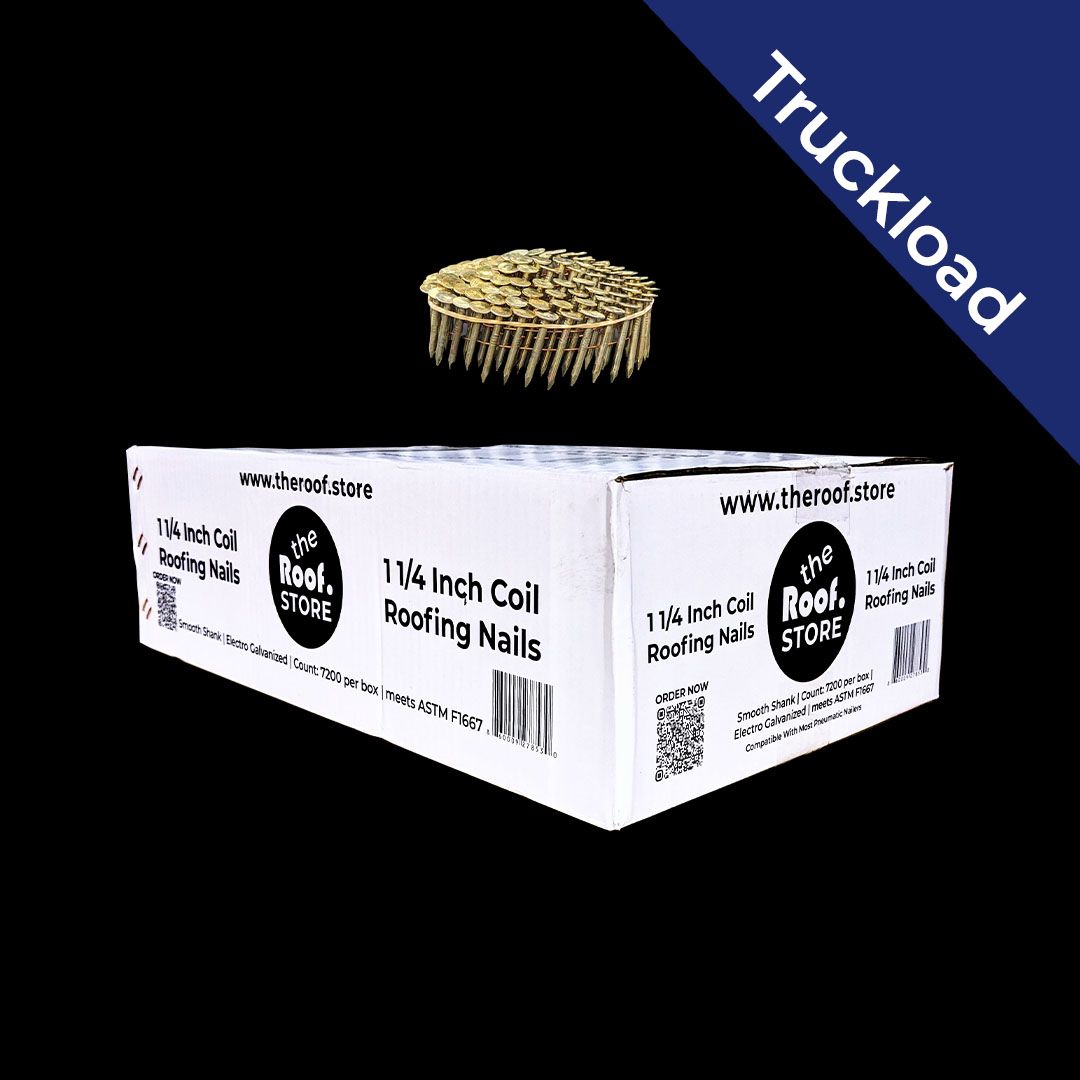
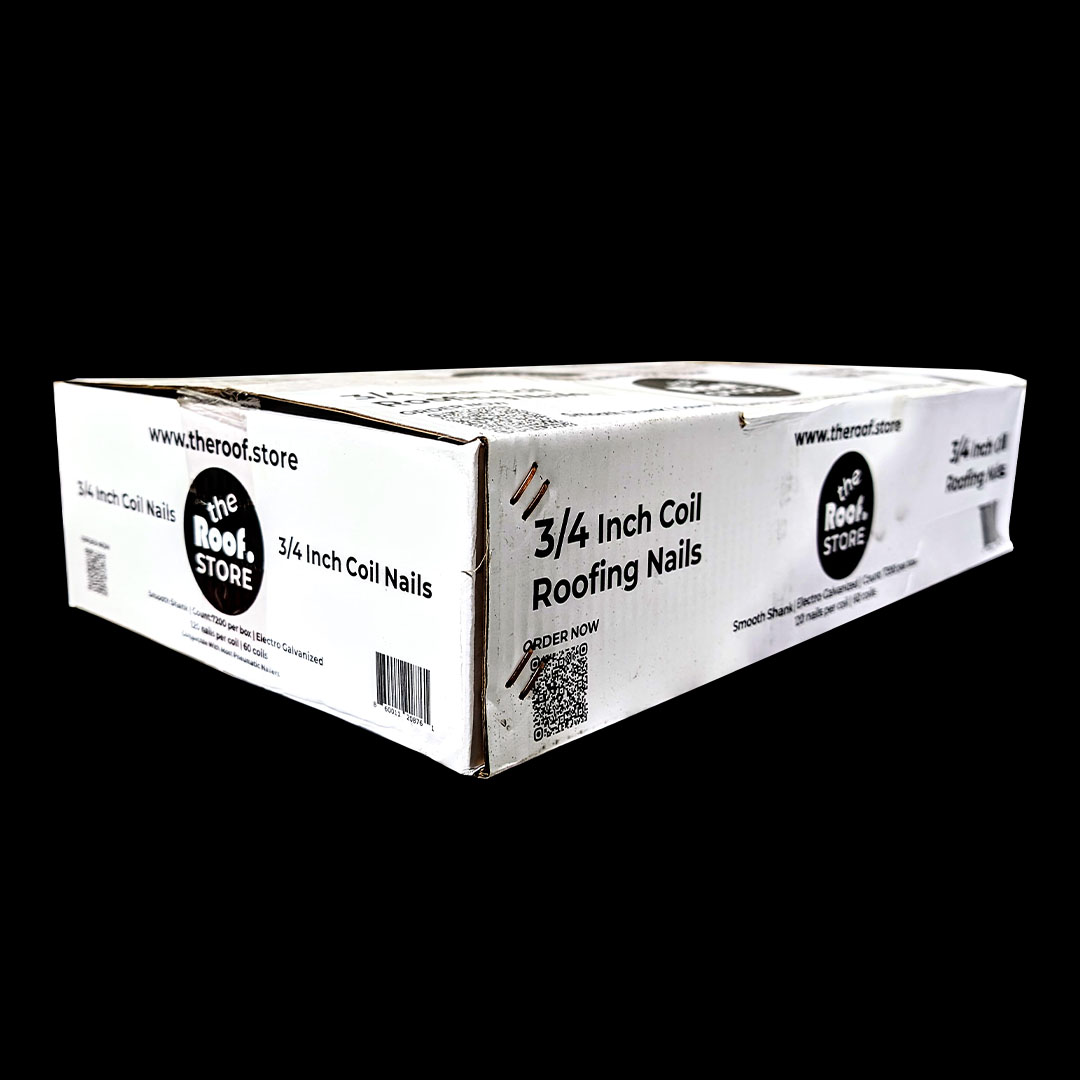
Free Shipping. 7,200 nails per box | Electro-Galvanized Coil Roofing Nails | Collated. Fits most 15 degrees coil roofing nailers: Nailing 4 Nails per Shingle: covers 320 Nails Per Square = 22.5 squares per box. Nailing 6 Nails per Shingle: covers 480 Nails Per Square = 15 squares per box. Free Shipping on all Bulk Orders. The Roof Store ships within the Continental United States. Your delivery includes an Appointment with liftgate and pallet jack service, if needed. Ship to address must be able to receive commercial shipments (pallet jacks only move on flat and even ground. No loose gravel). 95% of orders are delivered within 10 business days. Ordering 1460 boxes requires the buyer to have on-site a forklift and a pallet jack to unload the 1460 boxes (1 hour to unload - $250 per penalty per hour if it takes longer than 1 hour to unload and to miss the delivery appointment)

7,200 nails per box.
60 coils per box.
120 nails in each coil
Orders of 1440 boxes have a lead time of 55 days.
Coil Nails Passed 700 Hours Salt Spray Test
Answering your questions regarding Coil Roofing Nails. Examples: What is the guarantee in case of defective coal nails? Can you get a sample of the coil roofing nails before you buy them? If your coil nails are so great, then why do they cost so little? These three questions and 17 more tough ones are answered today.
20 questions regarding coil roofing nails.
How much does each box of 1 1/4 inch Coil Roofing Nails Weight?
Answer: 29.5 pounds
Question: How many coal nails per box?
Answer: 7200 nails per box.
Question: Coil roofing nail box coverage?
Answer: Each box, if you're nailing down six nails per shingle, is going to cover 15 squares. If you're nailing four nails per shingle, then it's going to cover 25 squares.
Question: Coil Roofing Nail sizes
Answer: I would say the majority of the contractors in the US are going to use 1 1/4 Inch Coil Roofing Nails. There was an instance when I got a phone call from a contractor in Orange County, California, and he was looking for specifically 7/8 inch Coil Nails Coil Nails, not 1 1/4 Inch coil nails. And he was saying that on some of the houses that he does in that region, because of the way that the decking is set, where it's visible to the inside of the home, there isn't an attic. The nails were penetrating through the decking and it was just not visibly okay for his customers. Aside from that instance, just use 1 1/4 inch coil roofing nails.
Question: How many coil roofing nails are used per square?
Answer: If you're nailing six nails per shingle, we're going to divide 7,200 coil nails by 15 squares, we're going to get 480. Nailing six nails per shingle, you're going to do 480 nails per square.
Question: Best Coil Roofing Nails?
Answer: The Roof Store, fast answer.
Question: Will Coil Roofing Nails Rust?
Answer: Yes, they're going to rust. Electro Galvanized Nails will rust the quickest. Hot Dip Galvanized Coil Roofing Nails will take longer to rust. Even stainless steel coil nails rust, but because of their chromium content, they're going to last the longest before rusting. All coil roofing nails will eventually rust.
Question: What size Coil Roofing Nails for your roof?
Answer: That's going to depend on each project. Most will use 1 1/4 inch in length, as we talked about earlier. Let's say, depending on your system. Brava roofing system, they're going to require you to penetrate through the decking. So in that case. Oh, and they're also going to require that you use hot dipped galvanized nails.
In that instance, you will use minimum 1 3/4 inch and sometimes even 2 inch size coil roofing nails in length for that project. So I would say do your research and make sure that you use the length and the size of the coil roofing nails that is best for the roofing system.
Question: Why do coil roofing nails the back out?
Answer: Awesome question. They back out because of wind. If you want more wind resistance, then you need to use ring shank nails. What causes roofing nails to pop? Roofing nails pop when the pneumatic nailer (or electric nailer) is not pushed onto the roof surface perpendicularly, when you come in at an angle to that surface, aside from being perpendicular, then eventually you're going to have the nails pop. Use Coil Ring Shank Nails if you don't want nails backing out.
Question: Which roofing nails to use?
Answer: Are you referring to the smooth type versus ring shank or referring to size length? Is your question referring to coil nails vs hand-driven nails? What are you referring to? So I don't I don't really know how to answer your question. What do you think, Quincy? I think whatever nails that fit the roof system, use those.
Question: Where to nail roofing shingles?
Answer: If you're using asphalt shingles, then each manufacturer is going to have a common area or a designated nail zone. I've noticed that there's a trend for the asphalt shingle manufacturers to widen this zone. Also, nailing outside of this common area nailing zone will void any manufacturer’s warranty.
Question: Smooth Shank Versus Ring Shank Coil Roofing Nails.
Answer: Awesome statement in the form of a question. You're going to use ring shank coil roofing nails if you want to increase the ability to reduce the effect of uplift resistance. Make sure that you check with your building code before you start making a decision.
Question; Can a pneumatic roofing gun be used for siding?
Answer: No.
Question: Can I get a sample of nails before I buy?
Answer: Yes, certainly. Fill out the form on the product page. We'll send you a coil of 1 ¼ inch coil roofing nails for you to try so that you can try it before you buy it.
Question: What is the guarantee in case of defective coil roofing nails?
Answer: It's very simple. When your installation crew encounters a coil that is defective, put that box on the side and we will gladly exchange it. The entire pallet will not be defective in the unlikely event you encounter a bad coil of nails. Each box of nails is made with the highest quality control standards by the top coil nail manufacturers in China. All of the United States brokers and distributors share the same factories so most of the defective coils will most likely be from any damage of the boxes during transit. Boxes damaged during transit must be claimed at the time of delivery so as to report it immediately with the driver of the delivery.
Question: If your coil roofing nails are so great, why do your coil roofing nails cost so little?
Answer: Great question. And I'm going to love answering this one. In the entire roofing industry, we've got all the contractors, which could be in the tens of thousands of contractors across the country. They buy from distributors. There's also another layer, distributors purchase the coil roofing nails from import brokers. There's two types of brokers. One of them is independently owned and operated, and then they buy from different manufacturing plants in China. But then there's also another type of broker which are actually direct representatives of specific factories in China. The Roof Store buys directly from the manufacturing plants in China, and we are selling directly to you the contractor. So we are bypassing brokers, we are bypassing distributors, we are bypassing all those middlemen that would otherwise increase the price for the same product. The Roof Store is passing on that savings to you, the contractor. We're buying the same great quality nails from the same factories that these other companies are buying from, except we're private labeling it with our name (The Roof Store) and we're passing on the savings. We could sell very easily at $60 a box, $55 box, and we could keep all that margin. But we don't keep the extra money because we want you to increase your profits. Our mission is to be a valued resource to your roofing organization, and we will always pass on as much savings as we can afford to pass on. Keep in mind, we offer you Free Shipping so that means we are taking on the added responsibility of absorbing that expense and still selling you the roofing nail products at 40% to 60% below what you currently pay.
Question: How long should asphalt shingle nails be?
Answer: the length of asphalt shingle nails should be 1 1/4 inch (when house has attic) in order for the nail to penetrate through the decking.
If you have questions that were not asked or perhaps one of those questions that were asked was not answered to your satisfaction, please comment below what your questions are and we will answer them.
2020 Florida Building Code, Residential, 7th Edition Chapter 9 Roof Assemblies
CHAPTER 9 ROOF ASSEMBLIES
SECTION R904 MATERIALS
R904.5.1 Nails.
Nails shall be corrosion-resistant nails conforming to ASTM F1667 or an equal corrosion resistance by coating, electro galvanization, mechanical galvanization, hot dipped galvanization, stainless steel, nonferrous metal and alloys or other suitable corrosion-resistant material, or corrosion resistance shall be demonstrated in accordance with TAS 114, Appendix E.
CHEMICAL ANALYSIS
TENSILE STRENGTH: 410-480 N/SQ.MM
FINISH: Exterior Galvanization
ZINC PLATED: 50-60 MICRON
Nail Size 1 ¼” x 11Ga
Nail Head Size 0.378” ±0.016”
Nail Head Thickness 0.028 ” ±0.004”
The Roof Store 1 1/4 Inch Coil Roofing Nails are Compatible with the following Nail Guns and even more (not all are noted below):
The Roof Store guarantees each box of coil nails to be free from any defect. We source our coil nails from 3 high quality Chinese manufacturers (depending on the type of nail and size). In the unlikely event you experience problems feeding our coil roofing nails into one of the compatible models of pneumatic nailers, set aside the box right away and contact us via phone, text, or email. The Roof Store will exchange the defective box where the defective coil came from. Defective coils are a rare occasion, but can occur and are usually isolated to a single box.
The factories we use to source our coil roofing nails use top quality materials and have a rigorous quality assurance department, so any issues with a coil will be an isolated incident. Problems with nails are most likely to come from a damaged box during transit. Inspect the shipment when received to make sure the pallets have not been damaged by the freight company. There is a separate process for us to file a claim for the damaged shipment and it must be filed immediately while taking possession of the shipment along with images and statement from the driver of the delivery truck.